This video tutorial will guide you step by step through the creation of a 3D exhibition. In addition to the video, you can find the most important steps as a screenshot below. Please take a look at the comments below each picture.
1

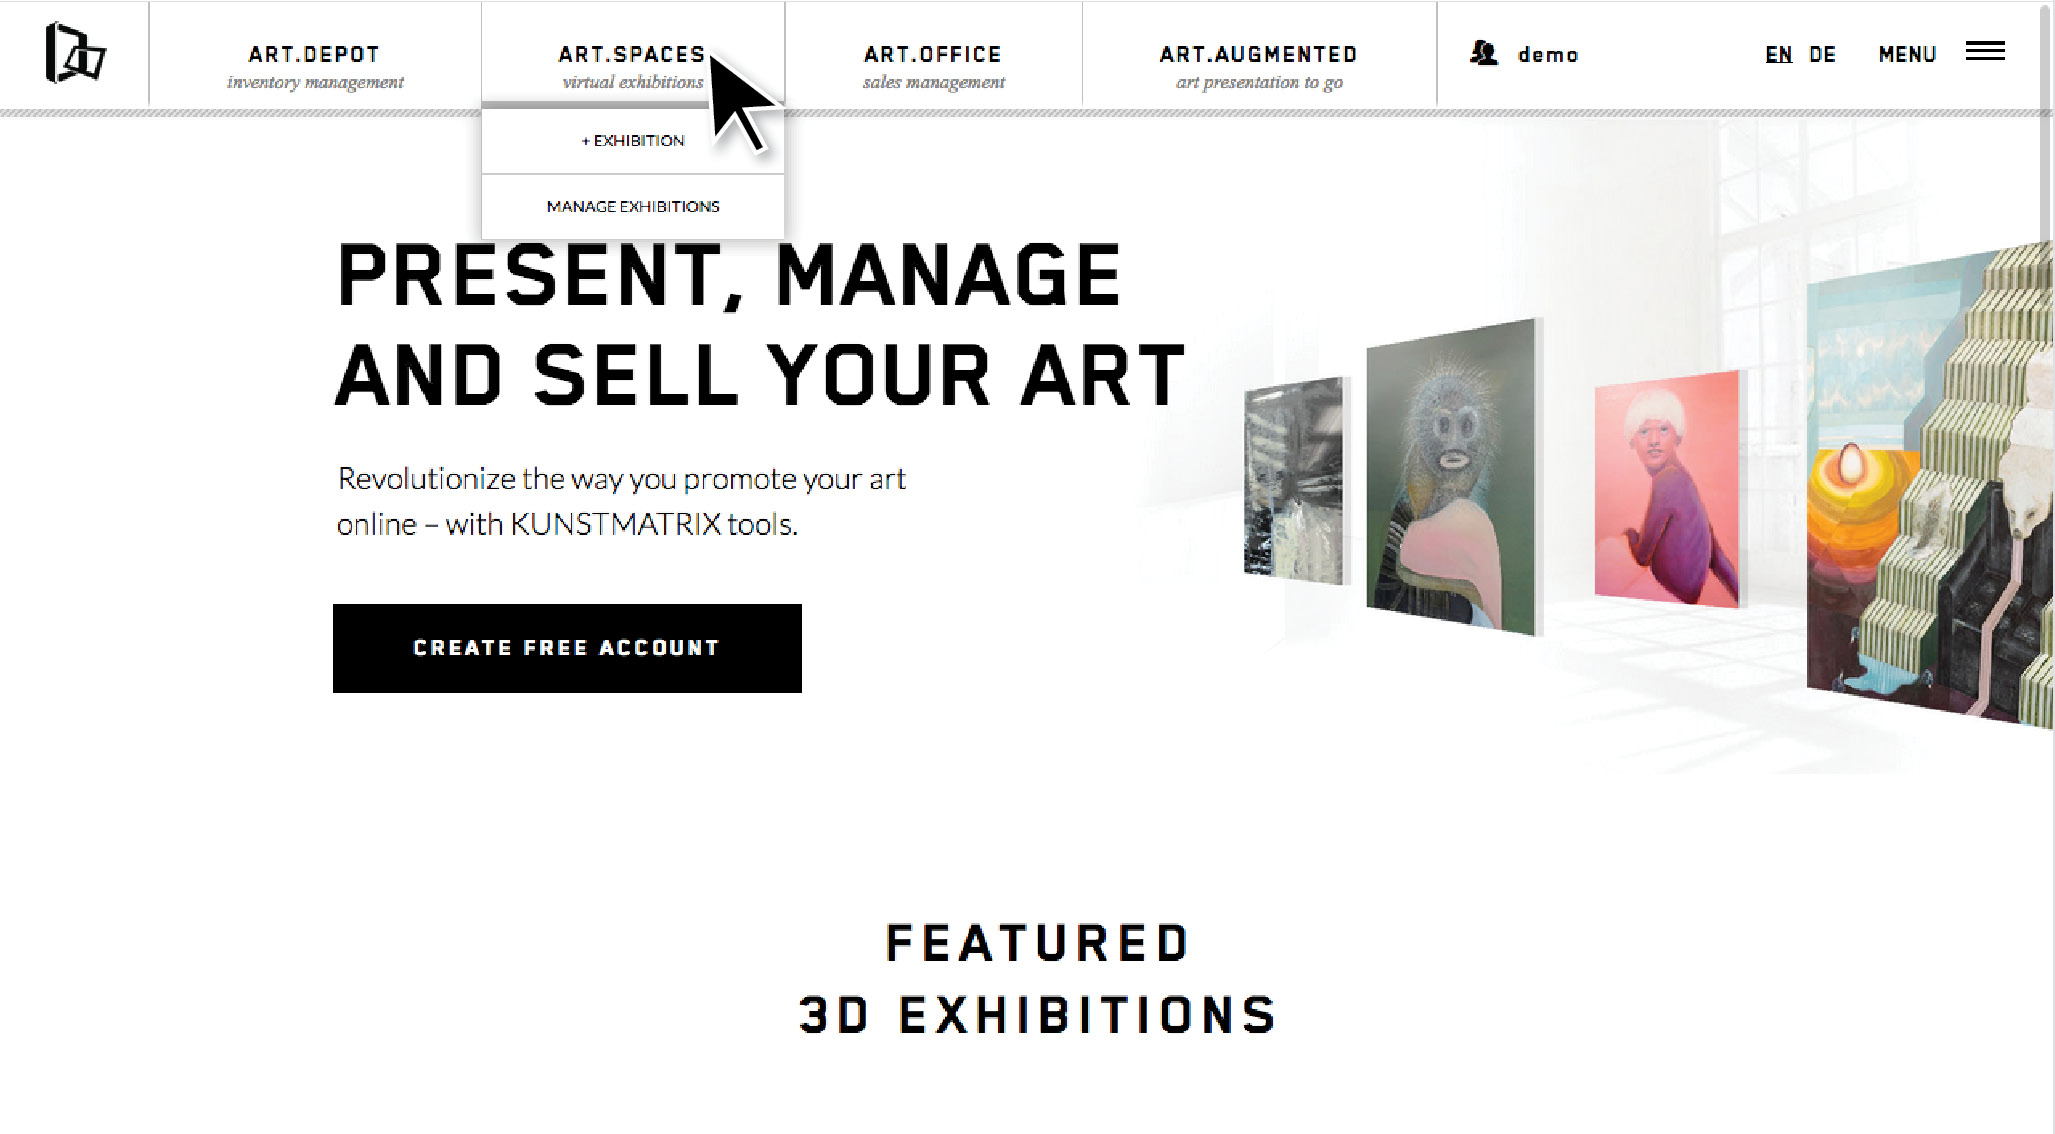
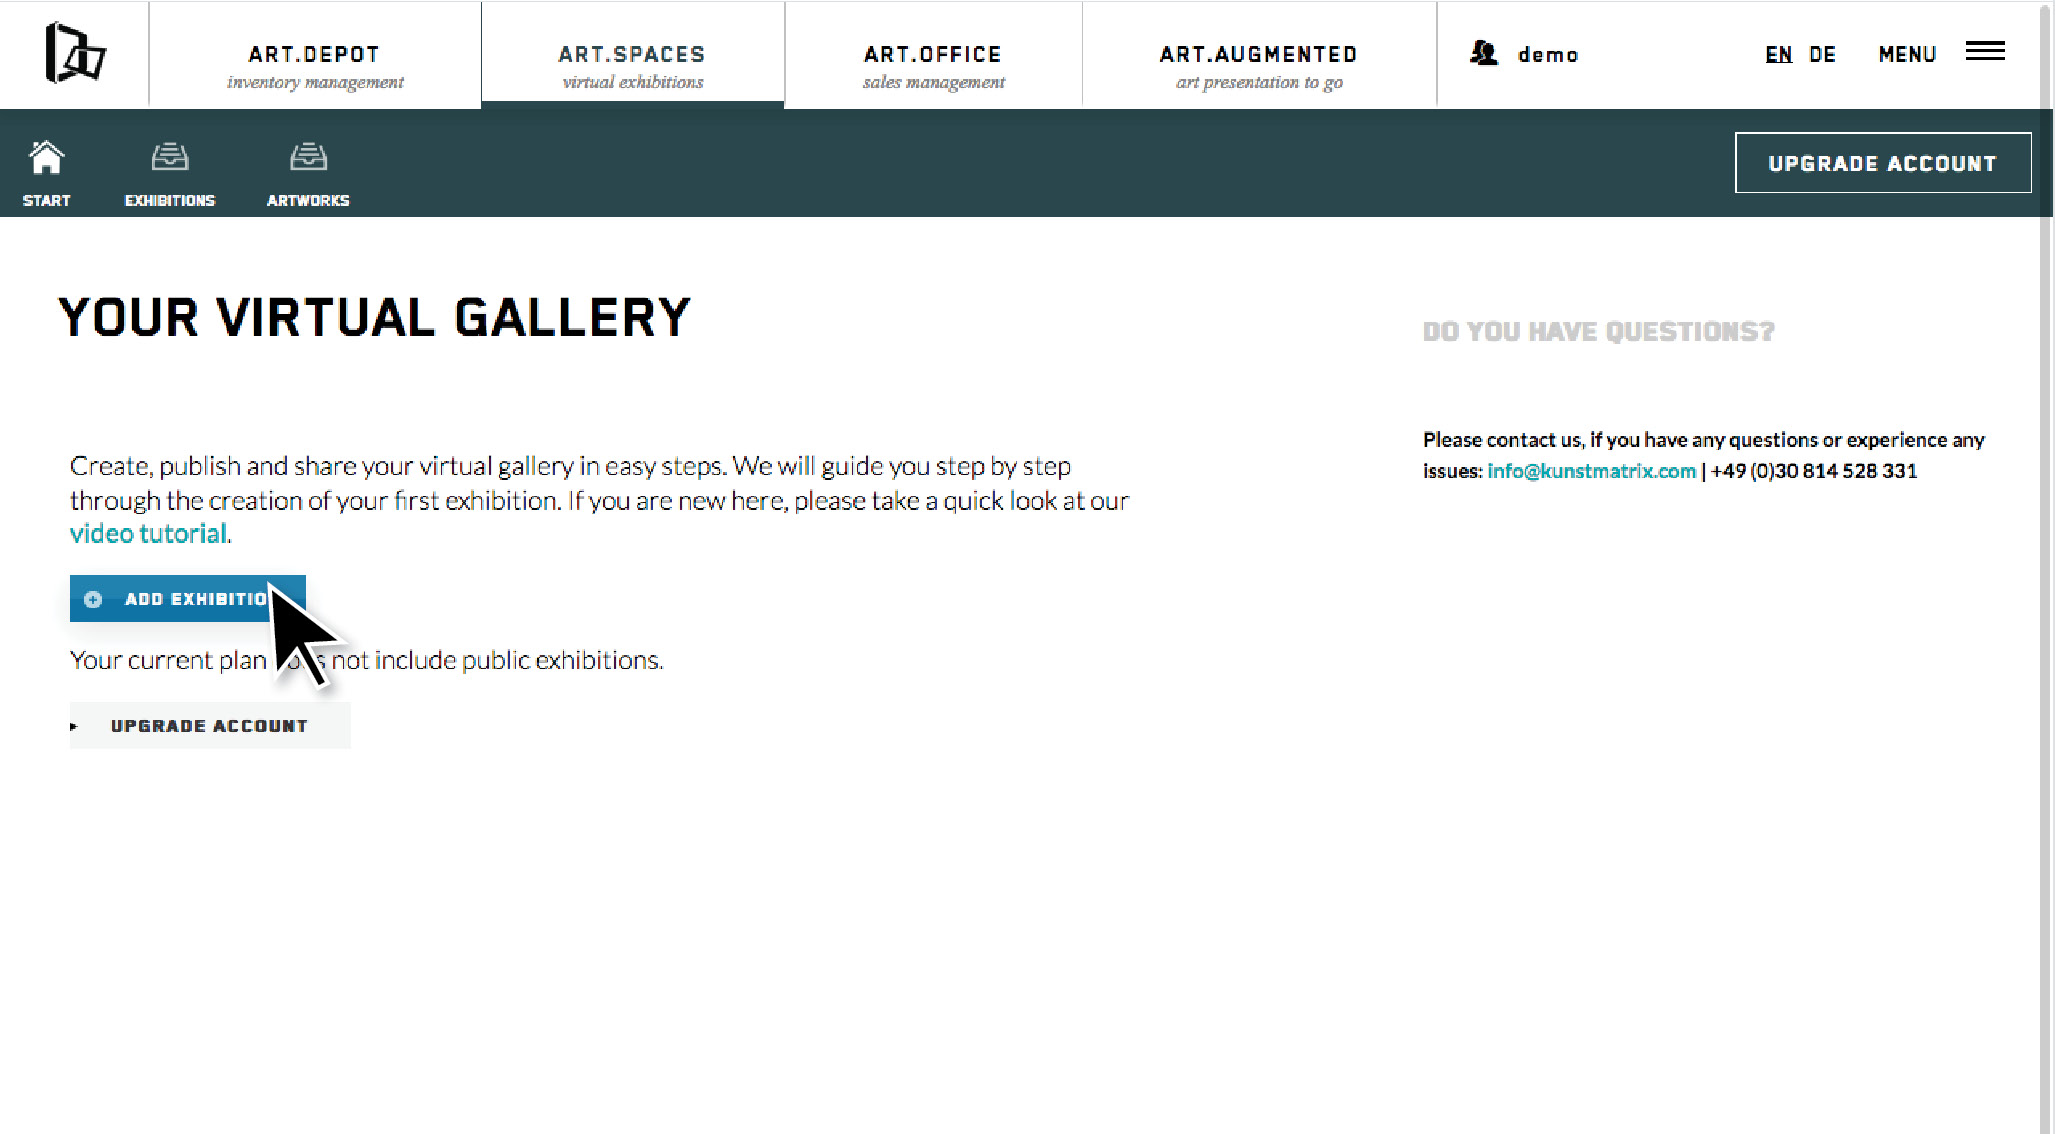
(1) click on the '+ exhibition' button in the ART.SPACES menu
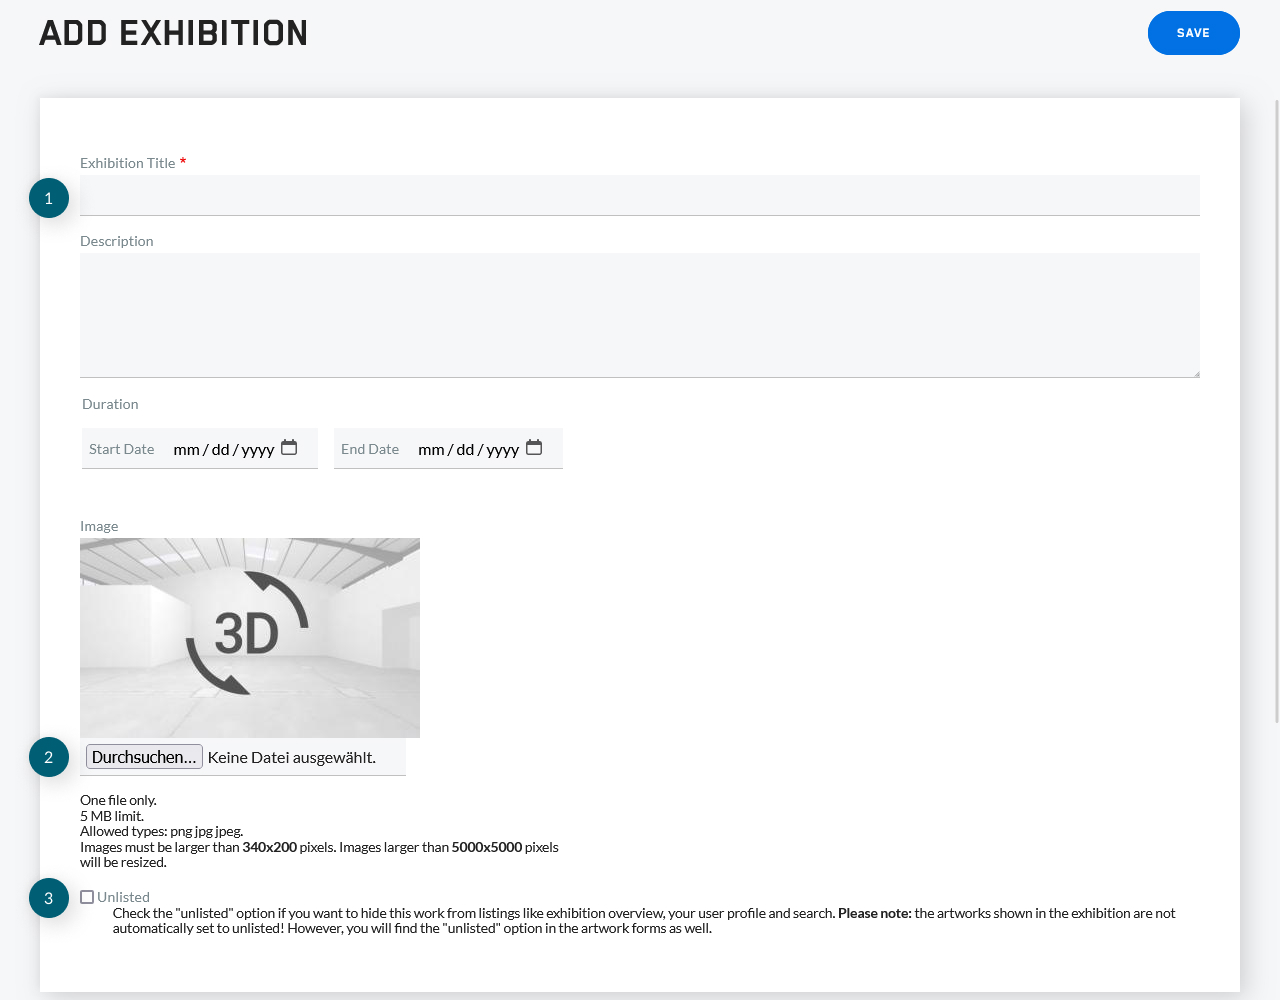
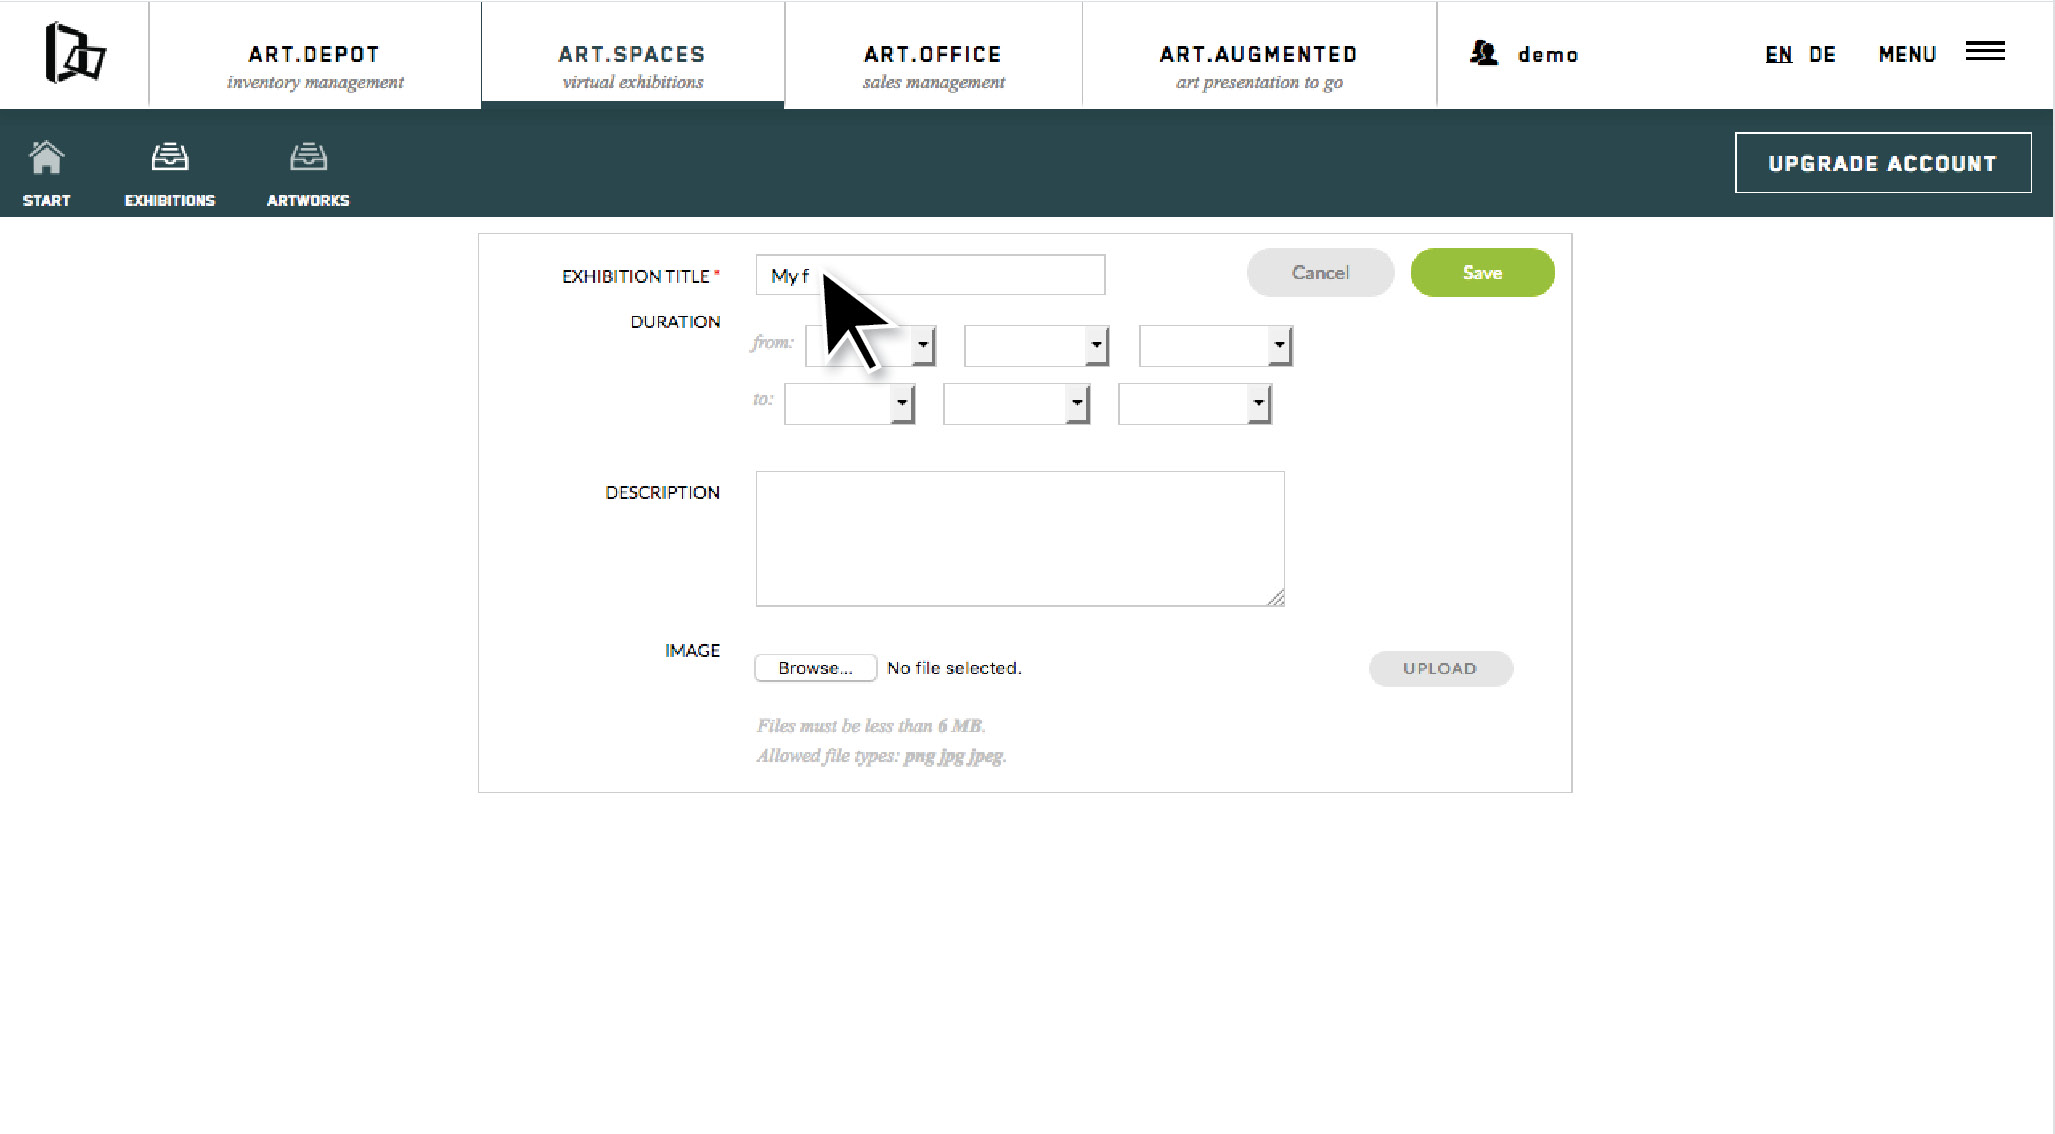
(1) Set a title for your exhibition. Additionally, you can add dates and a description
(2) Add a preview image
(3) Unlist your exhibition if you want to publish it privately

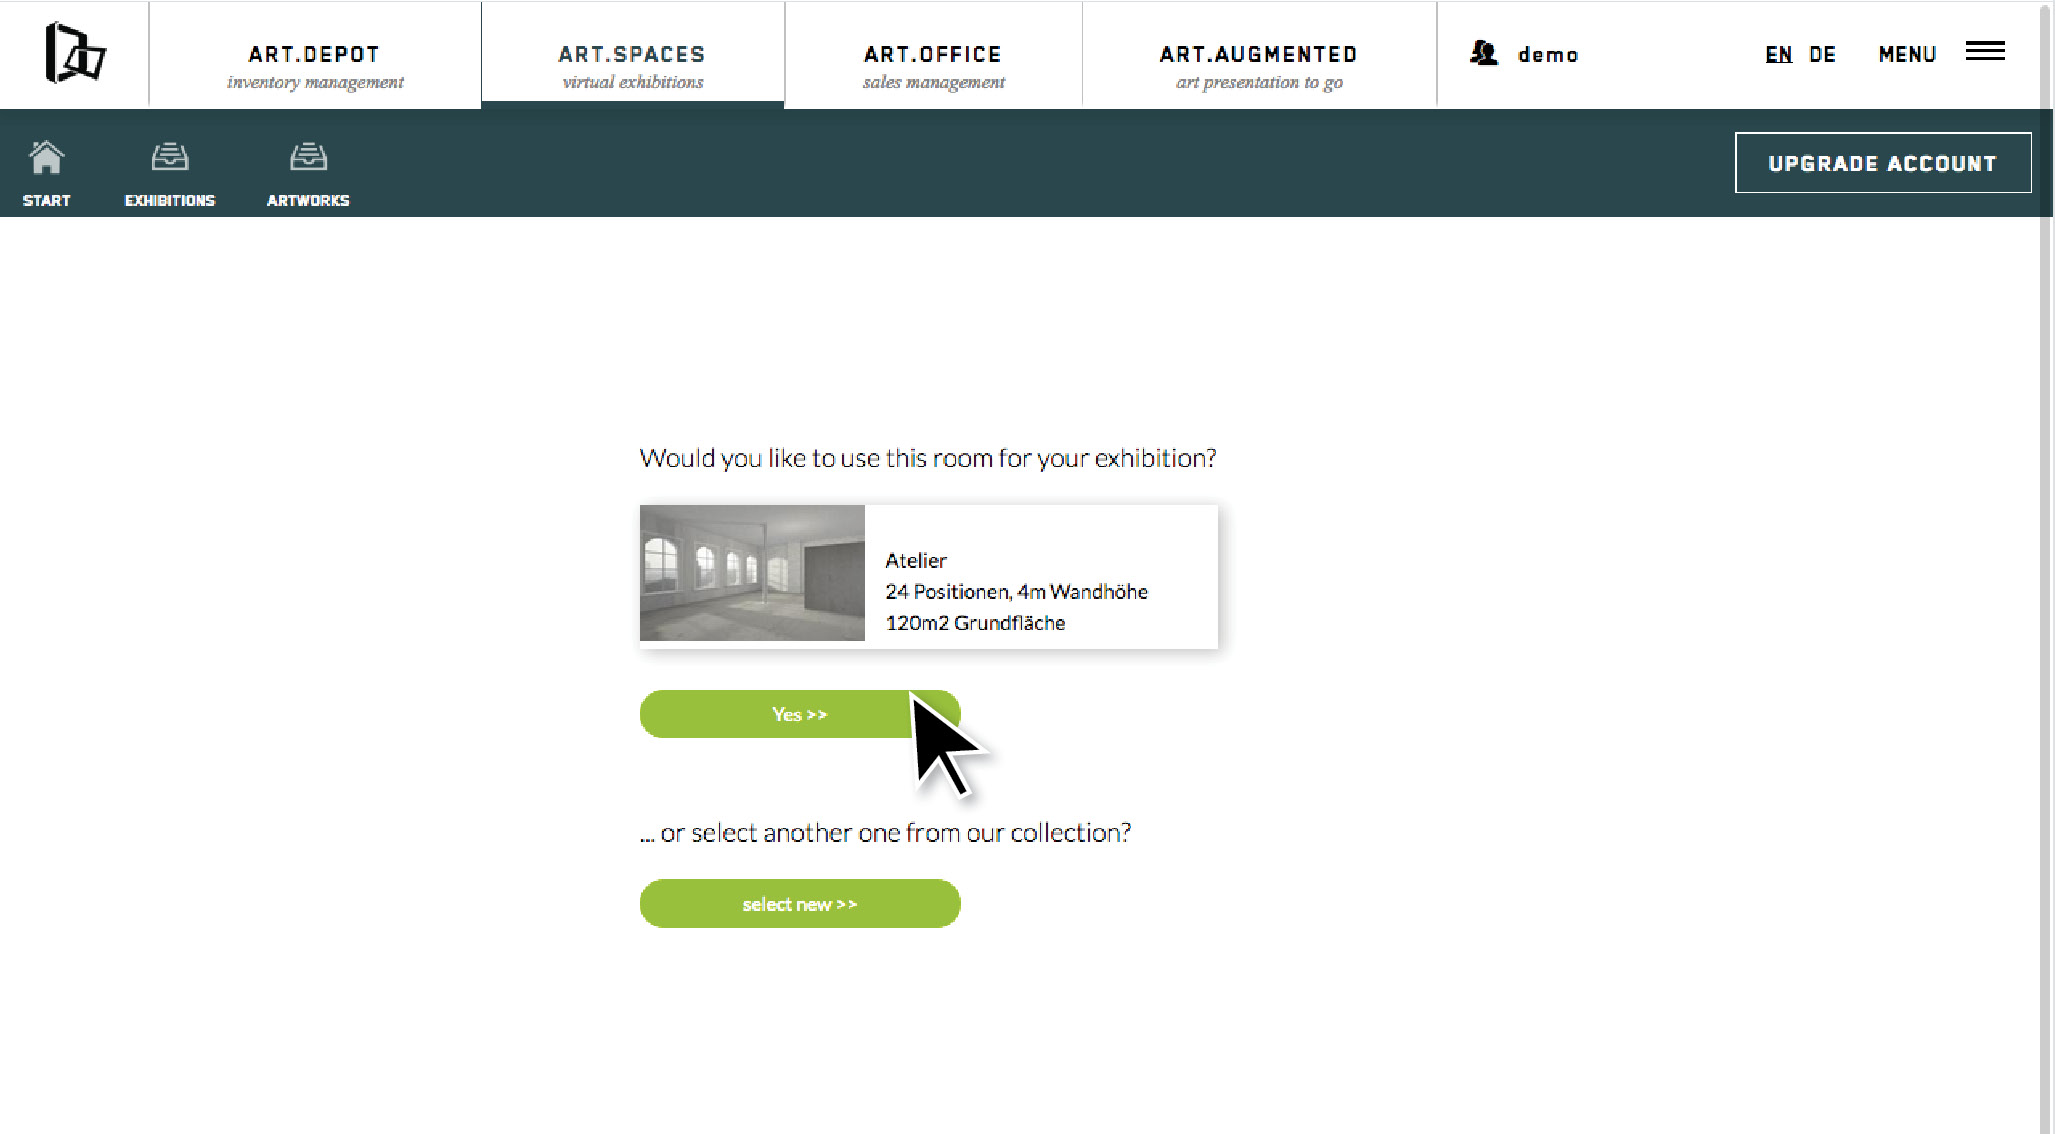
(1) Search a specific space by room ID
(2) Filter your collection of spaces by combinable rooms and by standard rooms/marketplace rooms/bespoke rooms
(3) Choose the room colour of your space
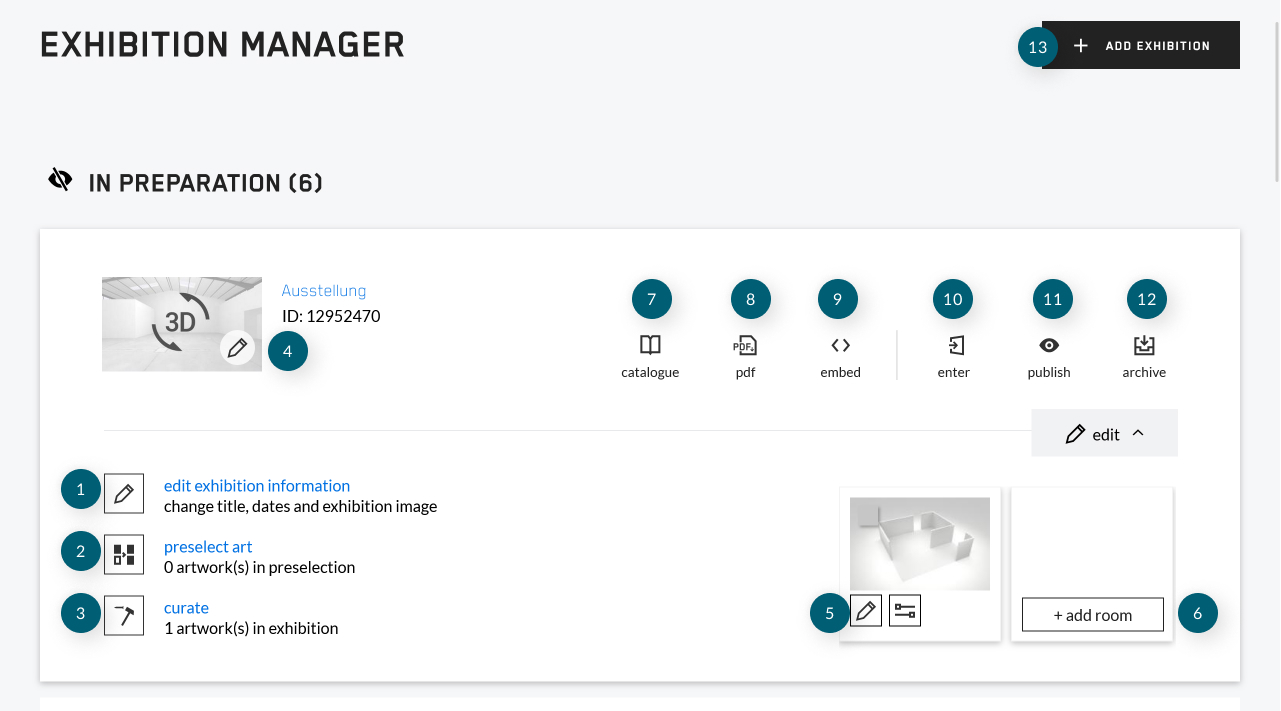
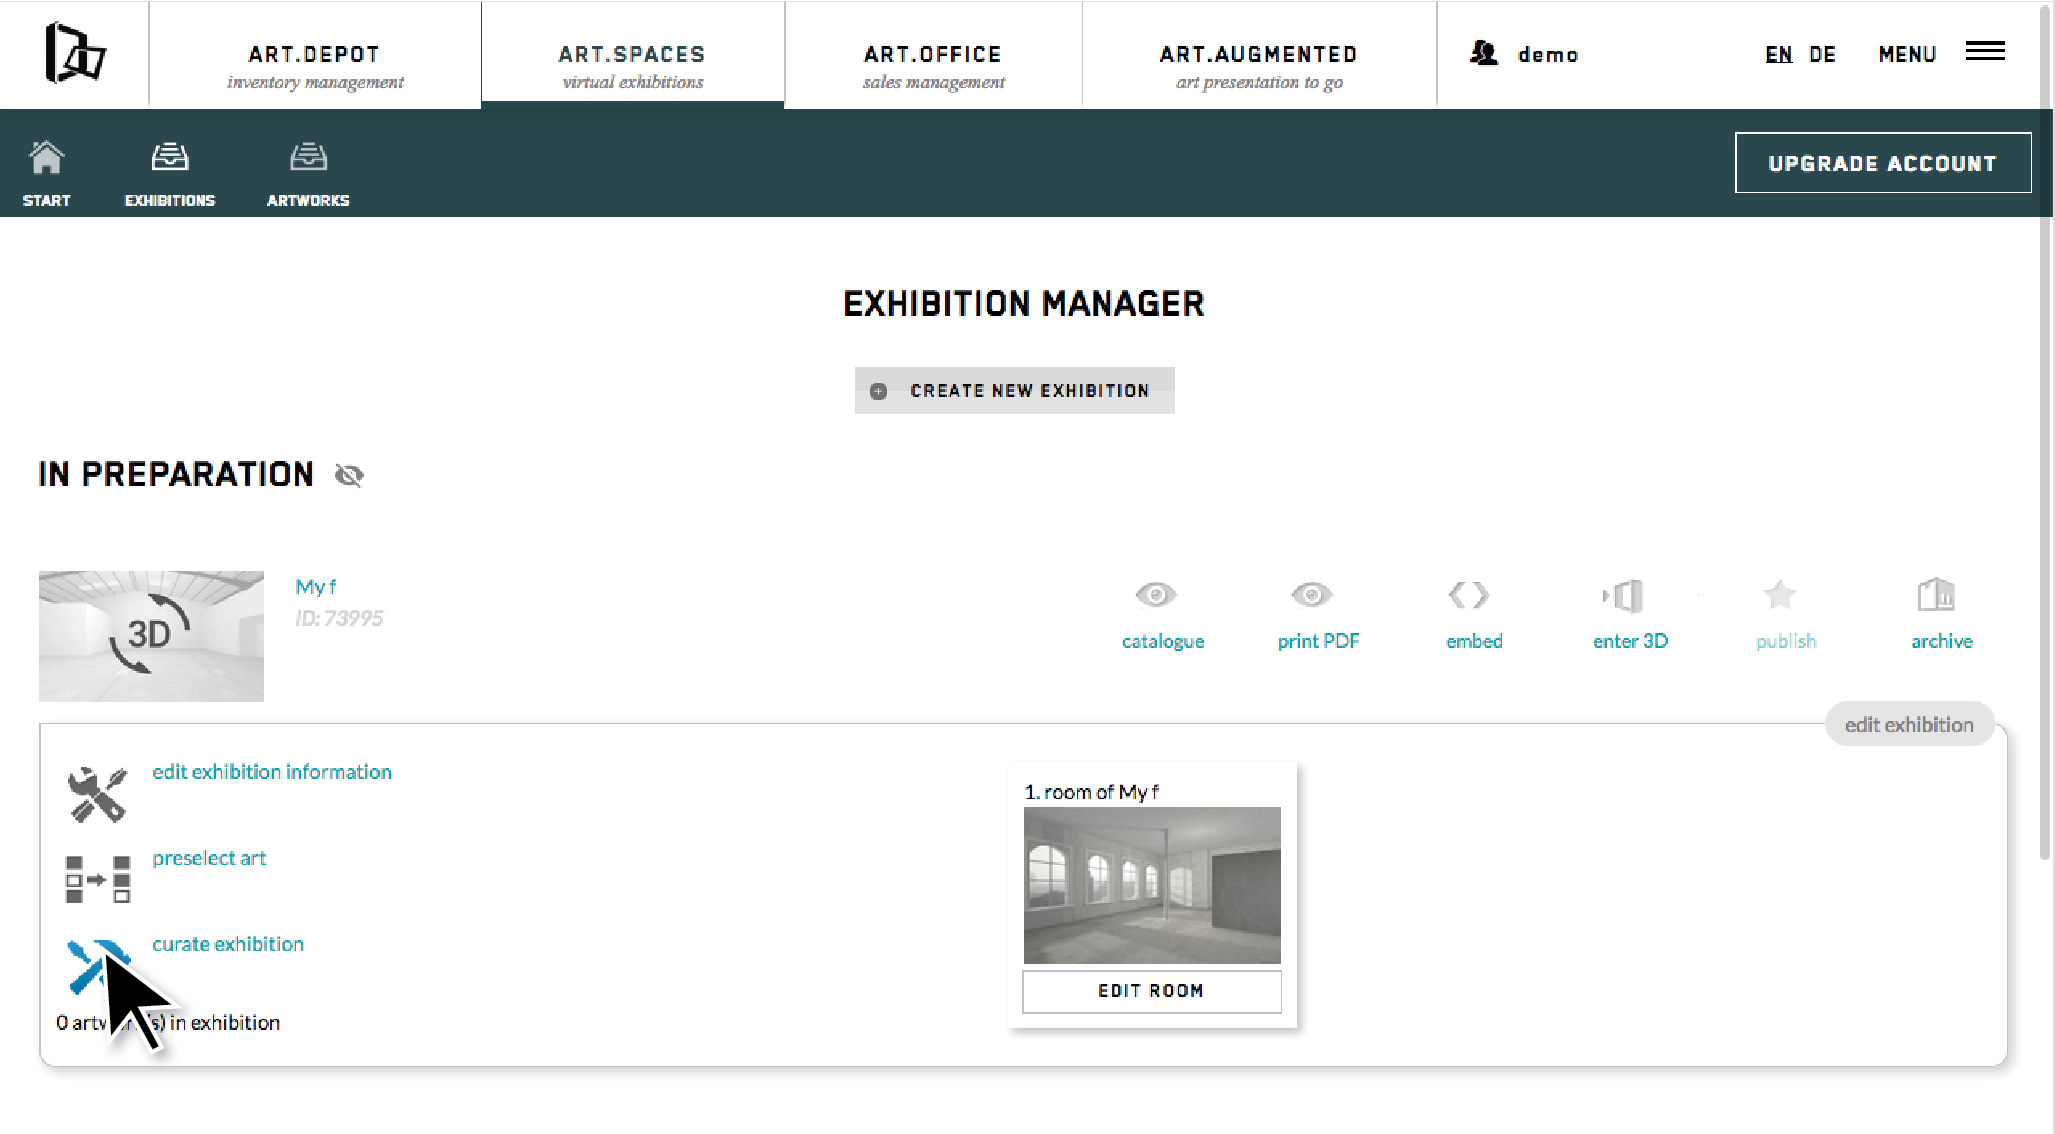
(1) Edit your exhibition information/unlist your exhibition
(2) Preselect your artworks for your desired exhibition
(3) Curate your exhibition
(4) Edit your exhibition information/unlist your exhibition
(5) Switch your chosen space/edit the room colour
(6) Add another room to your exhibtion
(7) View your exhibition catalogue
(8) Download your exhibition catalogue
(9) Embed your exhibition to your own website
(10) Enter your exhibition in visitor preview
(11) Publish your exhibition
(12) Archive your exhibition
(13) Create a new exhibition
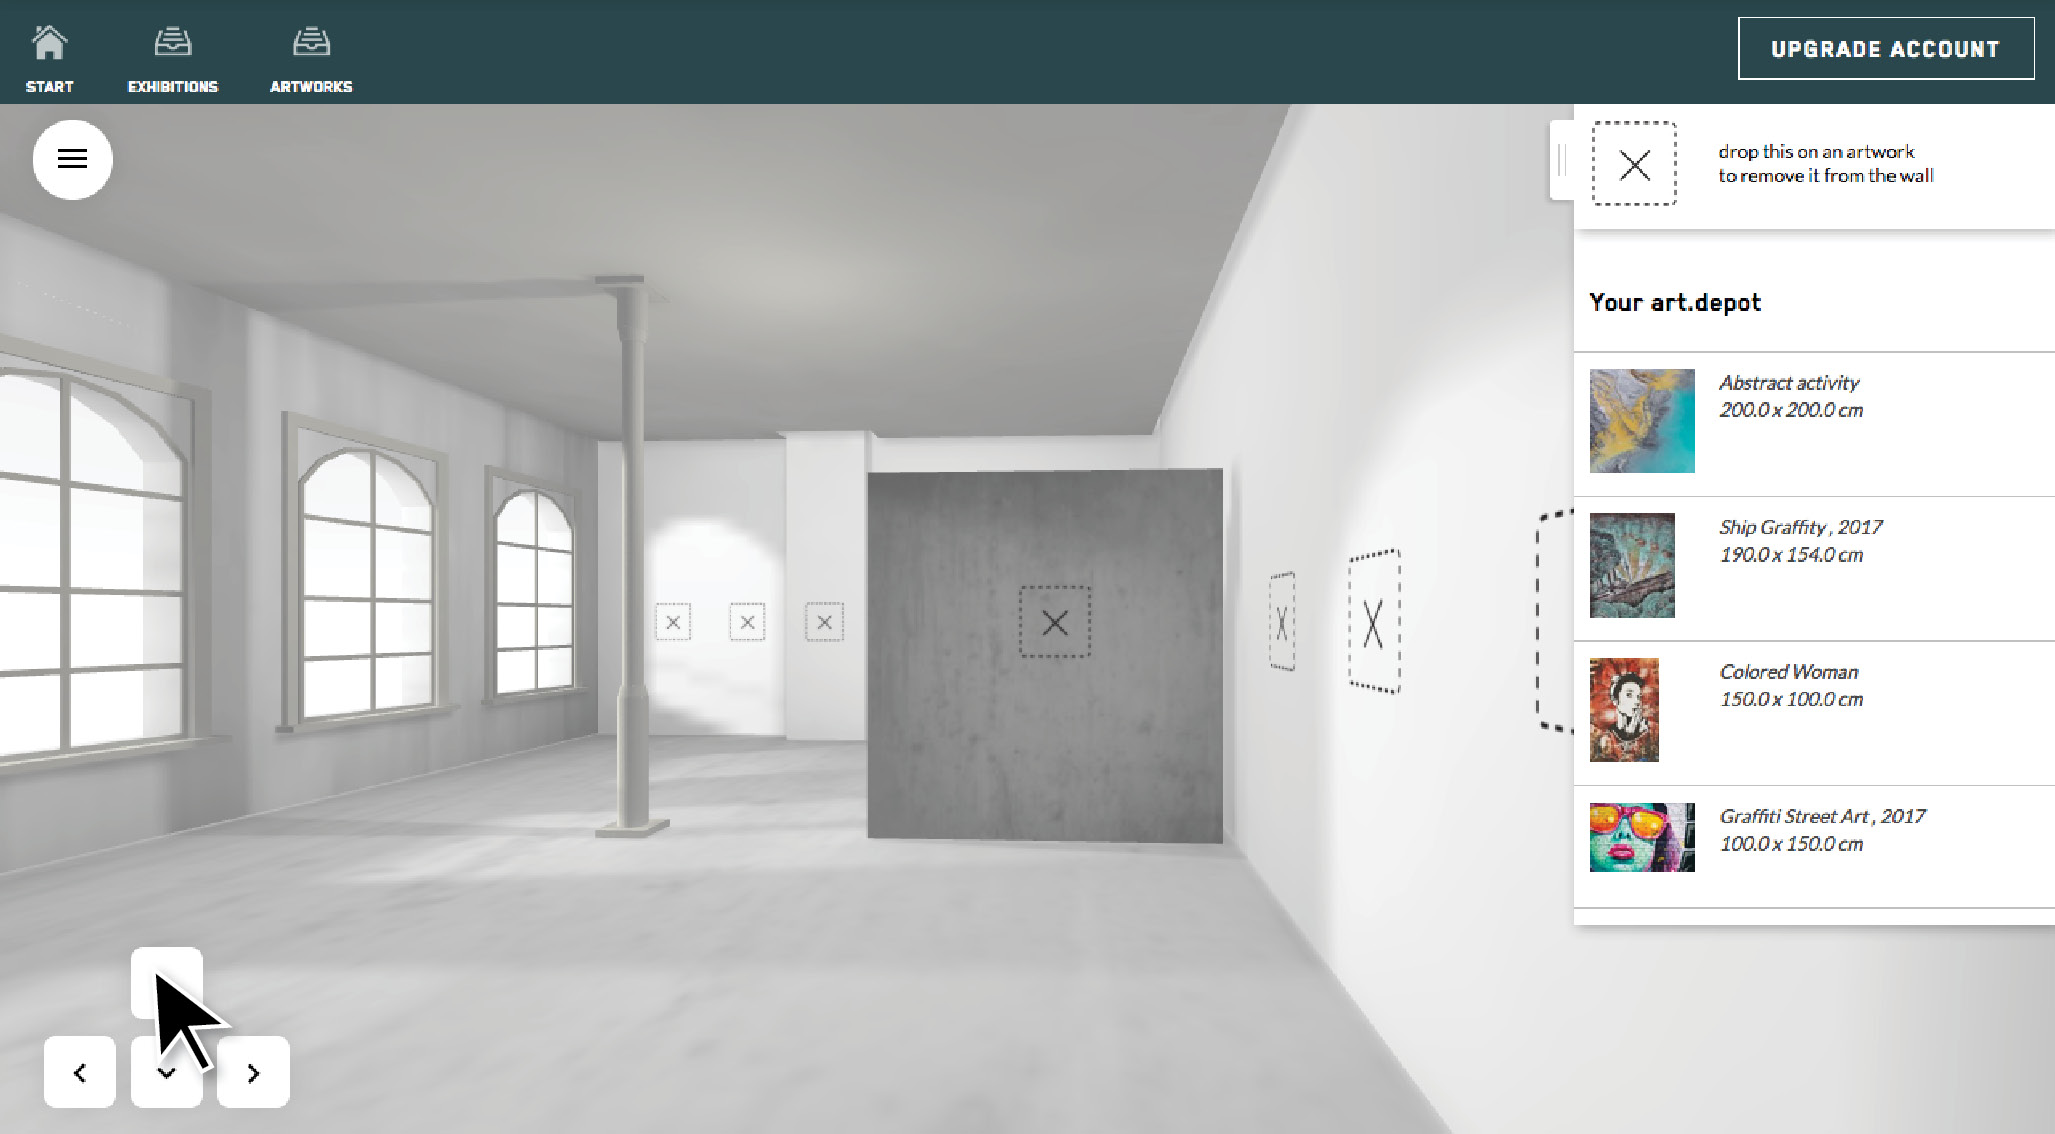
Use the arrow buttons to navigate, or those on your keyboard, or your mouse by clicking on the floor
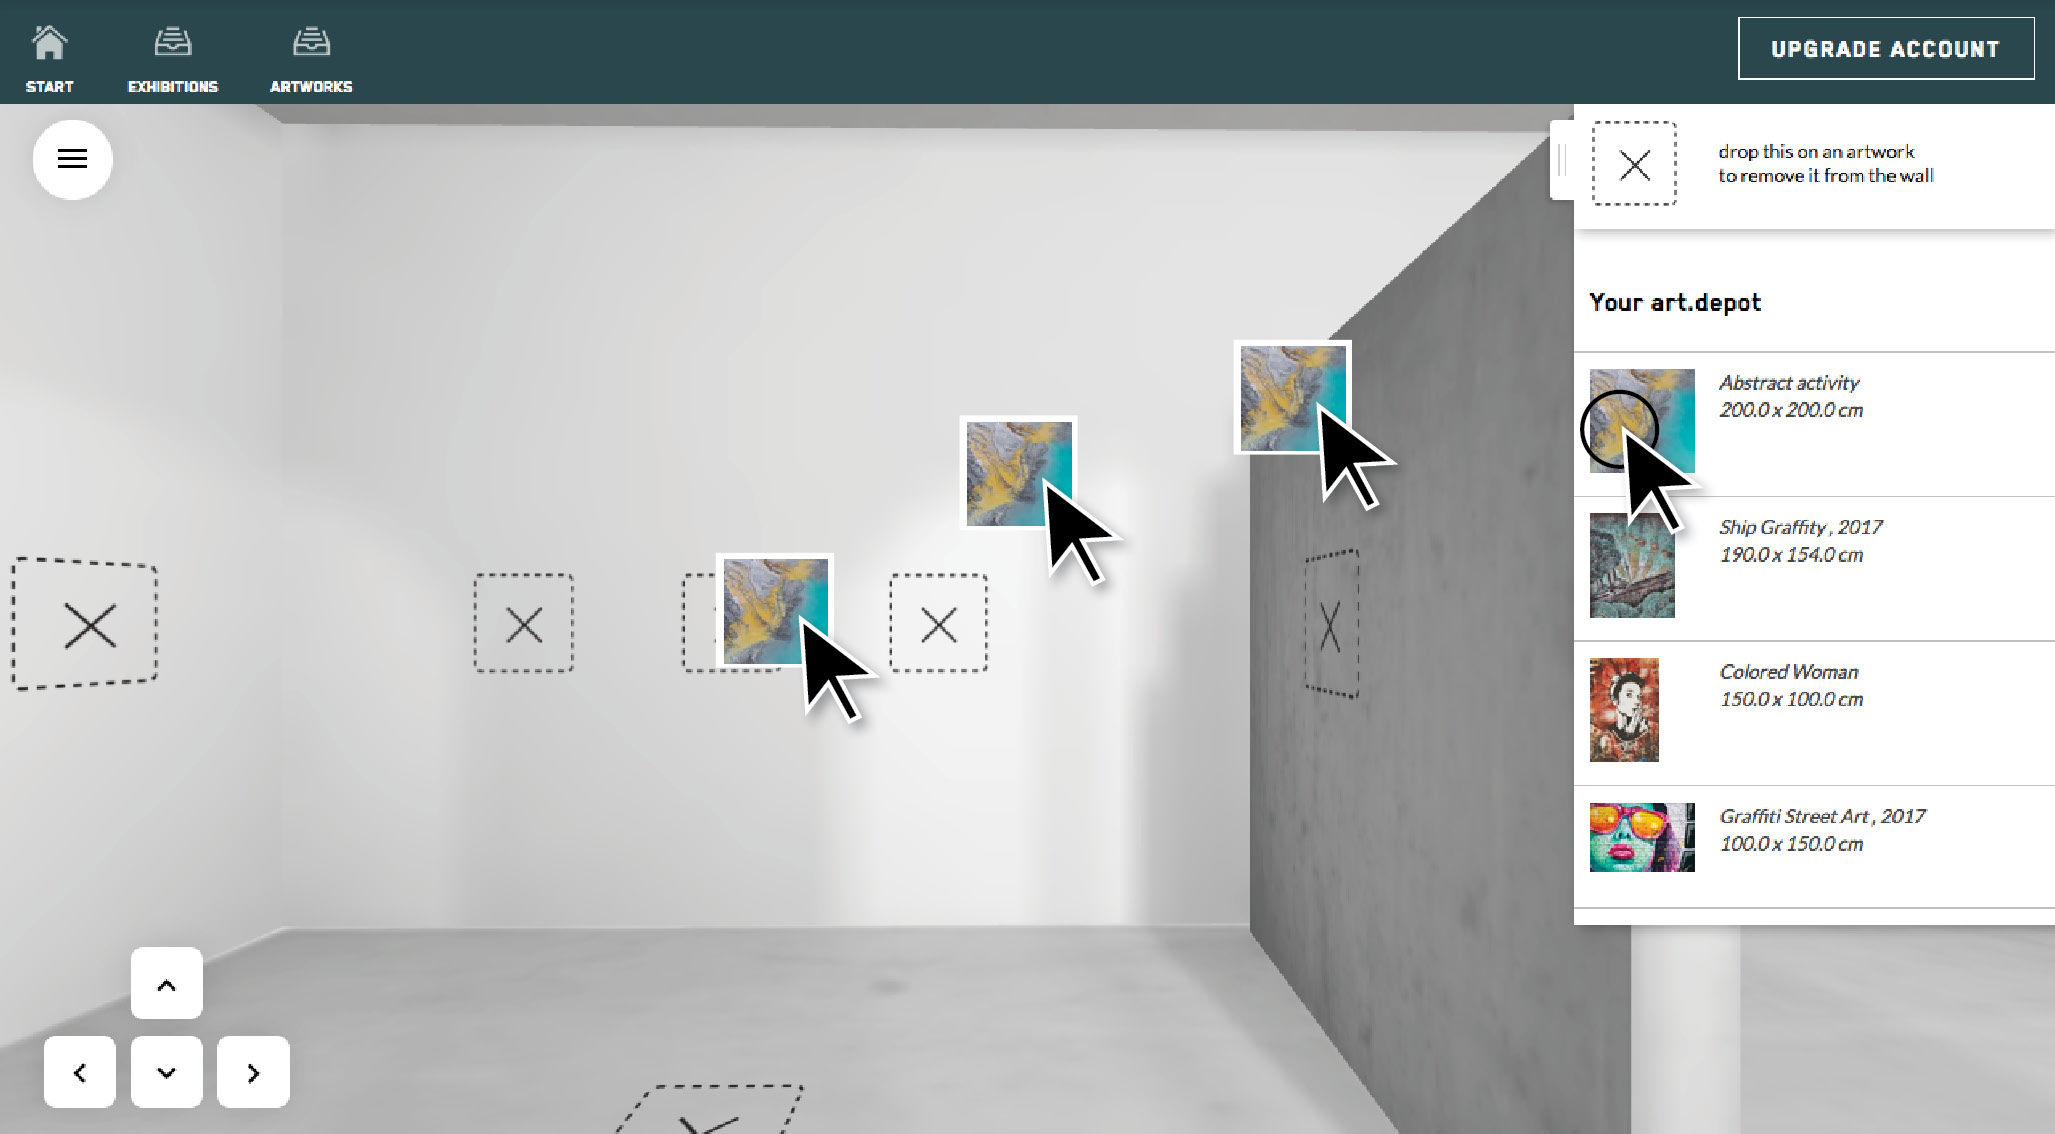
Drag artworks from the list to one of the placeholders

Click on an artwork for further options
Drag the placeholder on an artwork to remove it from the wall